Create and edit your first web form
Start in the Leads section and select “Web Forms” > Test Web Forms to activate this feature.
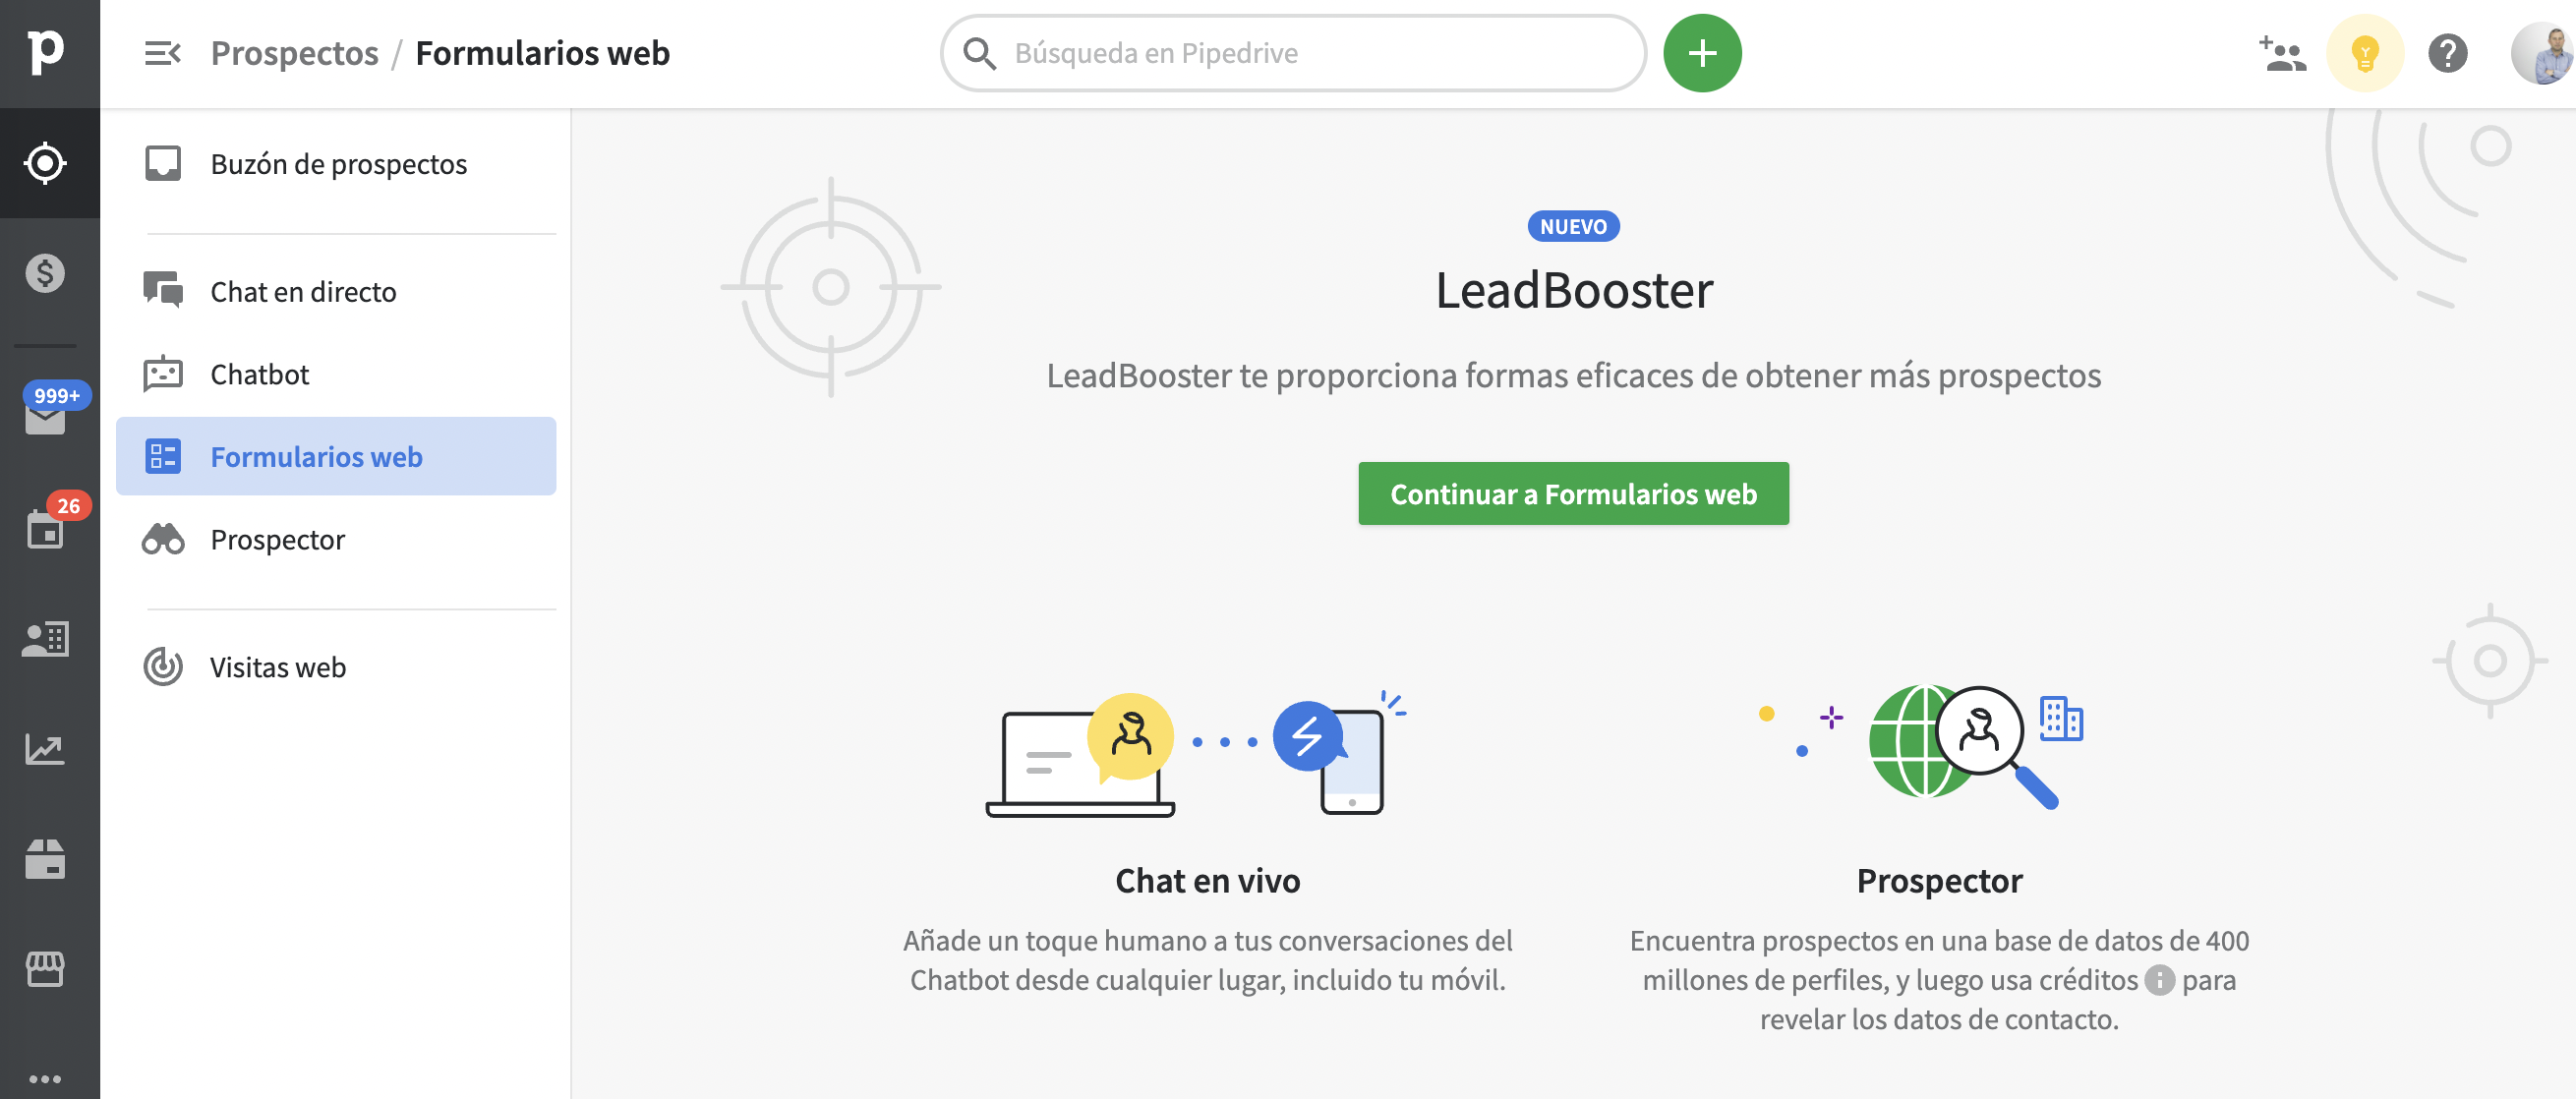
Select “New web form” to start. You must define:
1. Subject. These are the main and background colors.

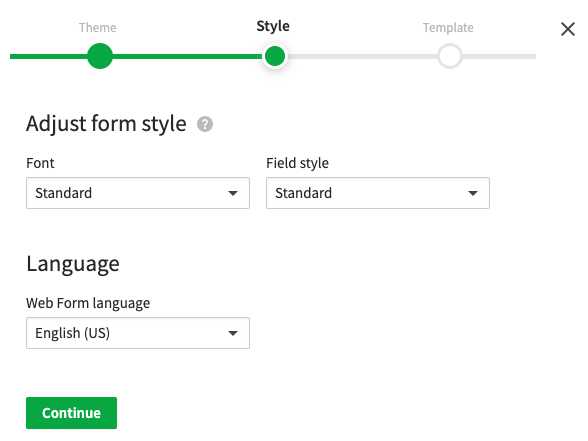
2. Style of the form. It is the font, the style of the fields and the language of your form.
3. Template. This is the type of form with the information you are looking for, you have the possibility to collect 4 types of data through these templates:
- Contact us. This option is viable when you want your customers or prospects to contact you directly.
- Registration. This form collects data through a registration on your website.
- Download material. Allow your users to download files after registering on your website.
- Empty. You can define the data to be requested from an e-mail.
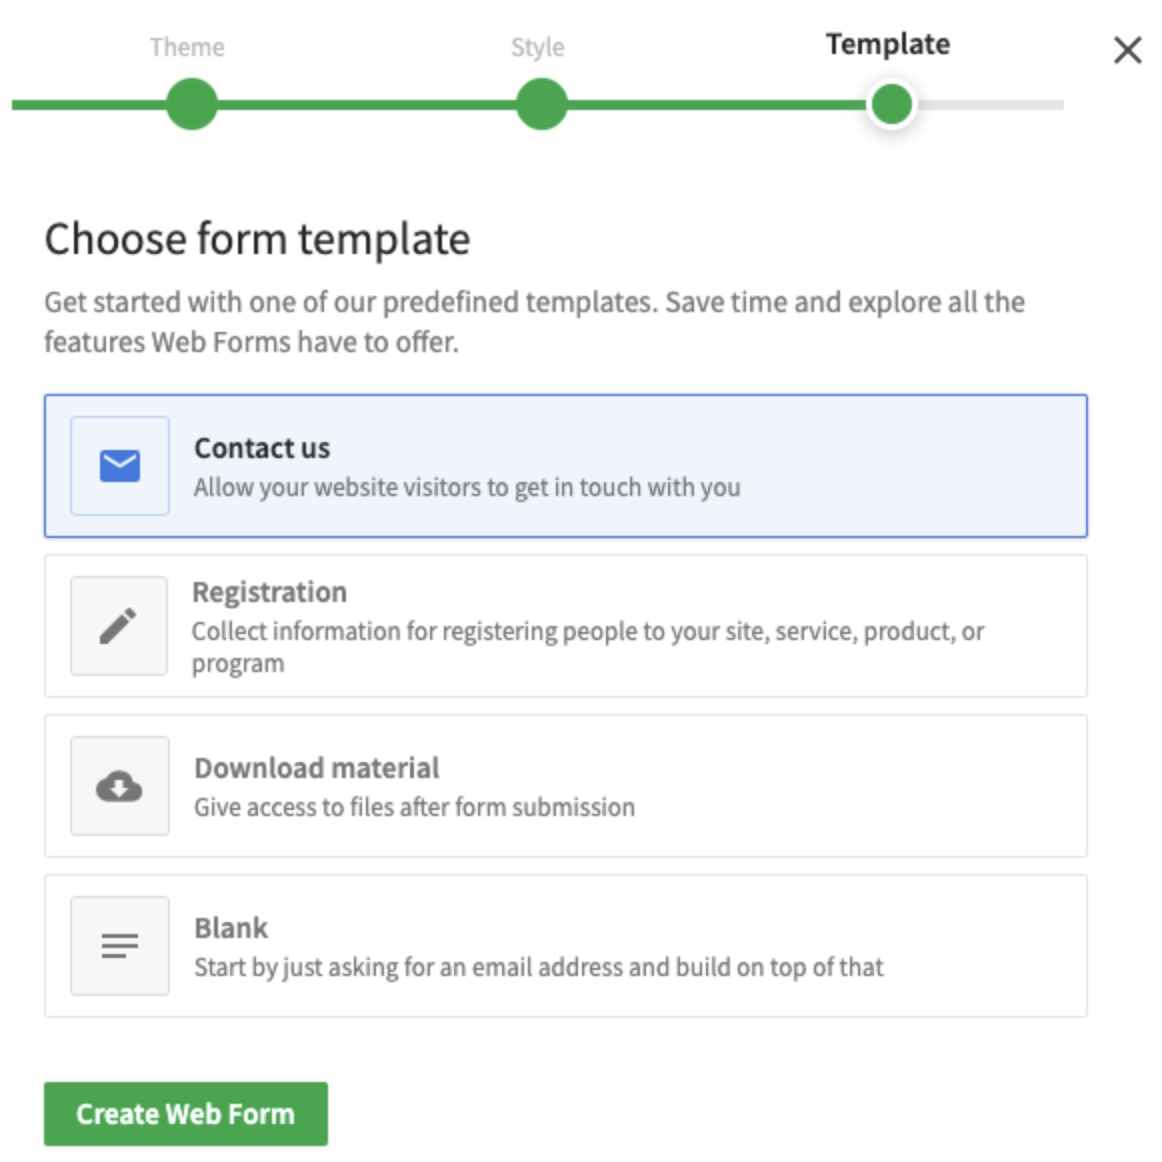
You’re done! The last step is to click on “Create web form “.
If you need to give more structure and modify the form you have created you should use the form editor.
This option allows you to add or remove blocks by clicking on the pencil icon. It is important to note that the “Introduction” block is mandatory in the forms.
Need to add a block? Hover the cursor over the form editor and select the “+” symbol.
You can choose between two types of blocks:
Information field
Collects basic data such as name or phone number and custom field data from your account.
This block has theoption to be defined as “required” within your form.
Supported fields are: text, large text, single choice, multiple choice, date, address, monetary, numeric and phone.
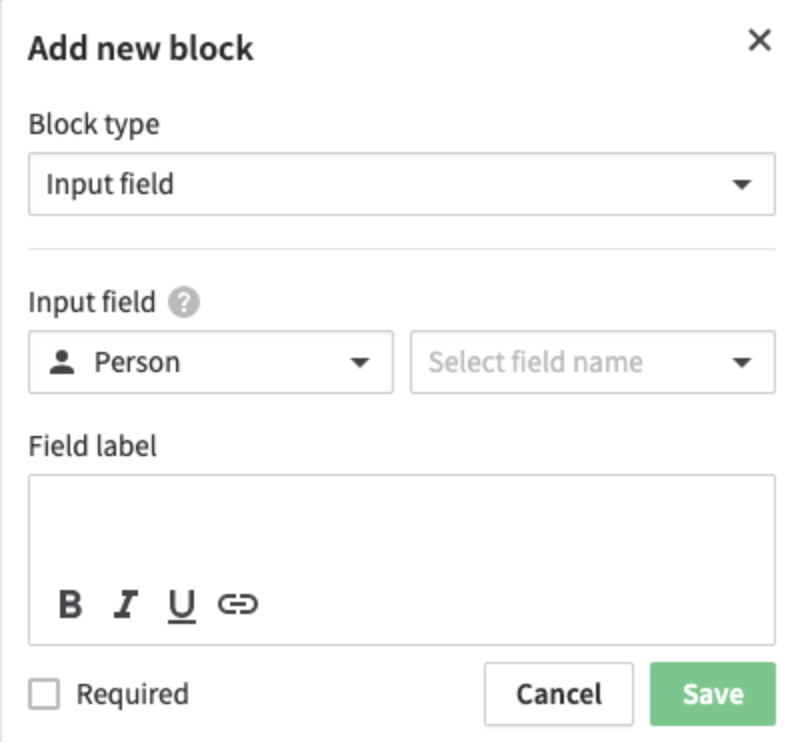
2. Message
This block allows you to add texts in the form so that your visitors can read some kind of information that you want to transmit to them.

You’re about to finish!
Close the form with the block containing the “Submit” button which should never be missing so that the data filled in by your prospect or customer is sent to Pipedrive correctly.
In this block , besides choosing the text of the button, you will be able to choose whether it will be protected from spam or not, if enabled, the updated version of reCAPTCHA will be used.

Share your web form
Before submitting your form check how it will look when you share it. You can do this from the “Preview” section at the top right of the page.
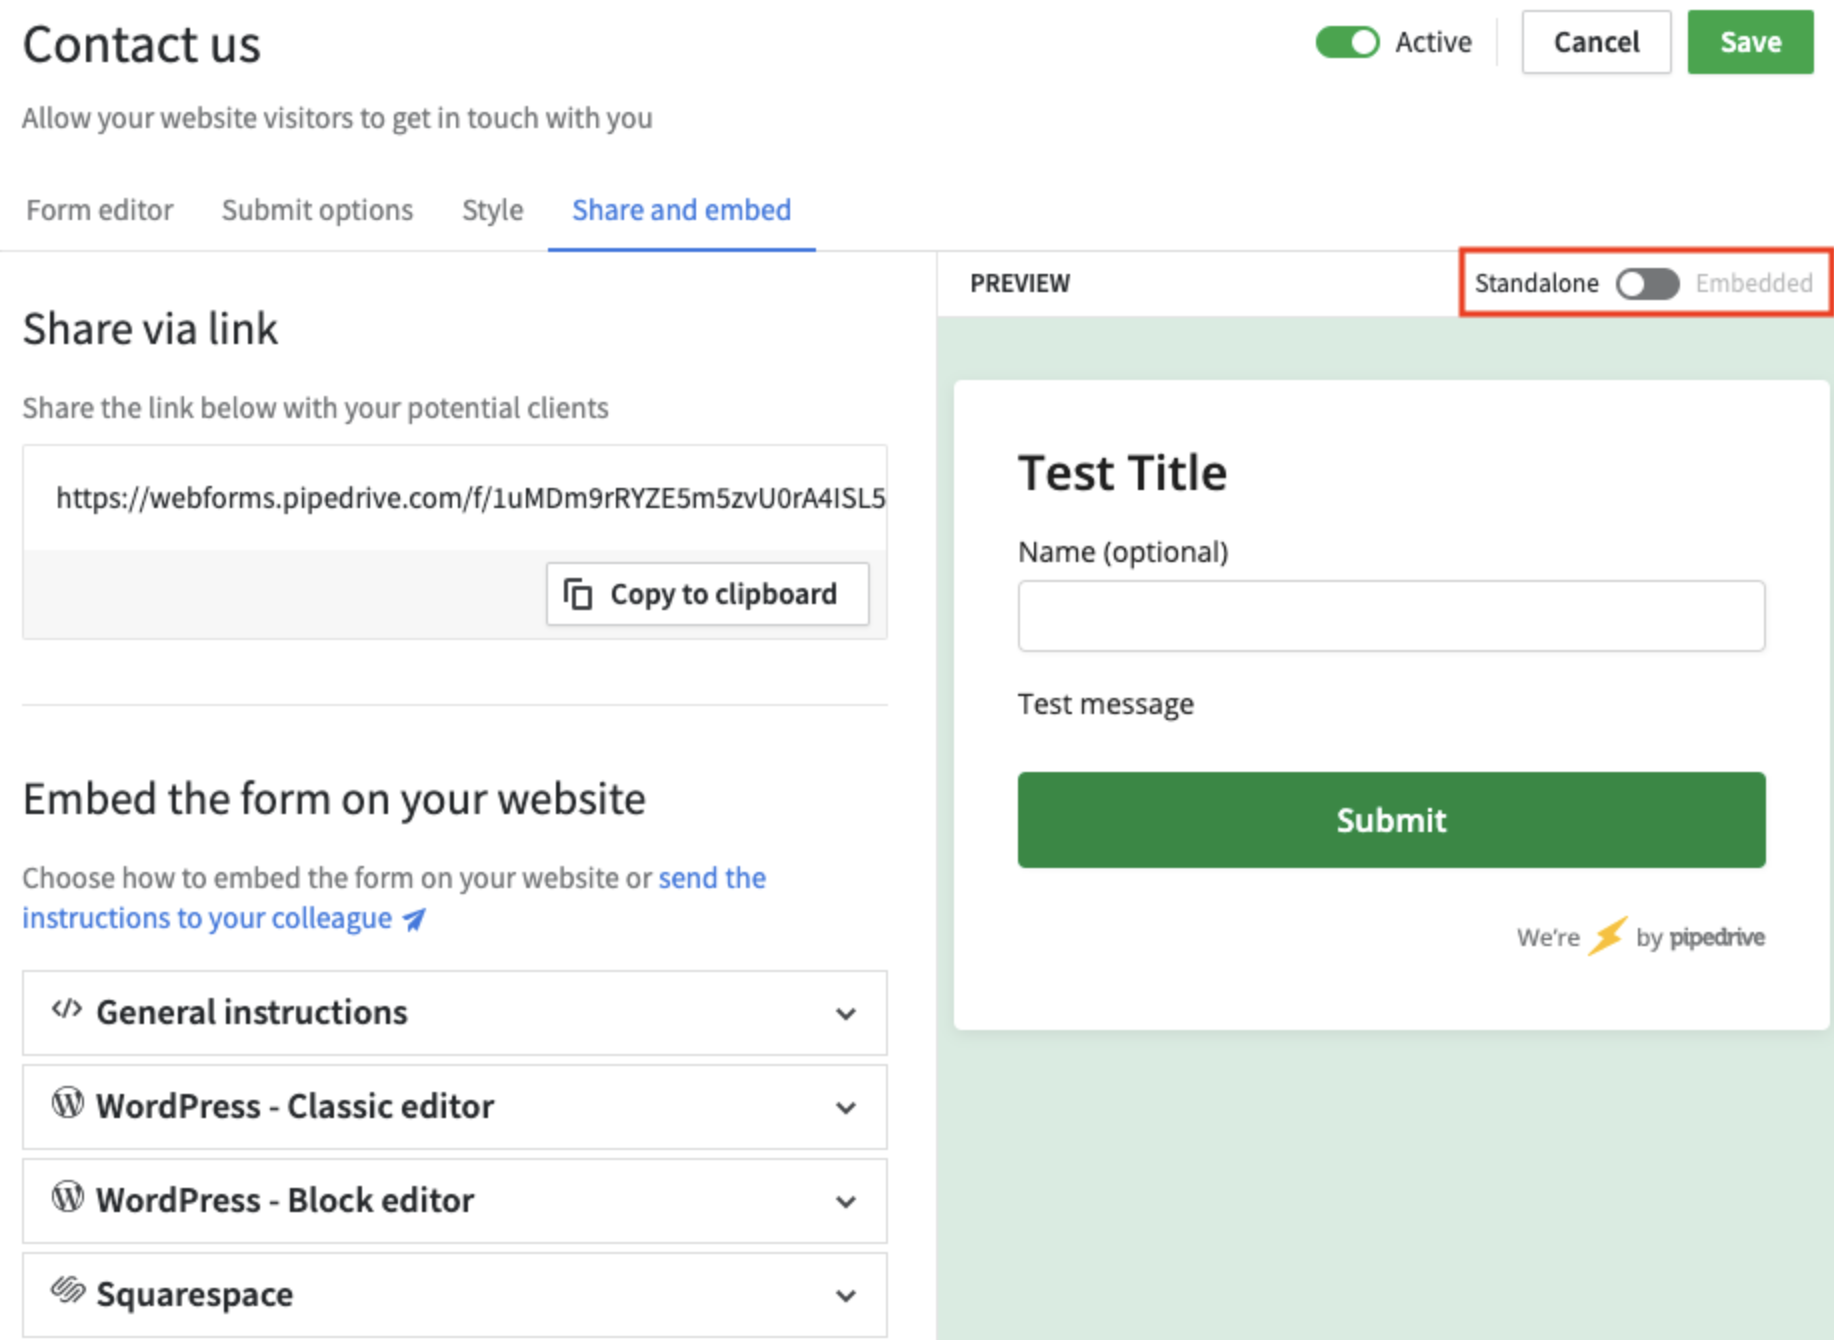
There are two ways to share the form you have just created. In the “Share and embed” tab you will find two options to share the form you have just created.
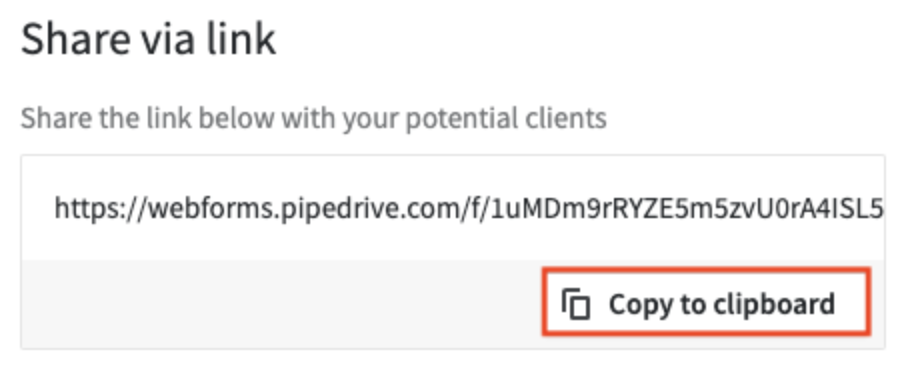
The first is to share the link directly to your prospects. When you select the “Share via link” option, you must copy the link that appears and paste it in the location where your contacts will click, regardless of whether it is an email or another location.
The second option is that it appears on your page with the option “Embed form on website”. In this section you will find all the steps to do it correctly.
What happens when my customer has already filled out the form?
Define your message for sending with the success page
In the first part of the “Submit” section, on the left side of the screen you will see a preview of the success page where you will find two options that you can set for when a visitor has already filled out your form:
- Show thank you message
- Redirect to another website
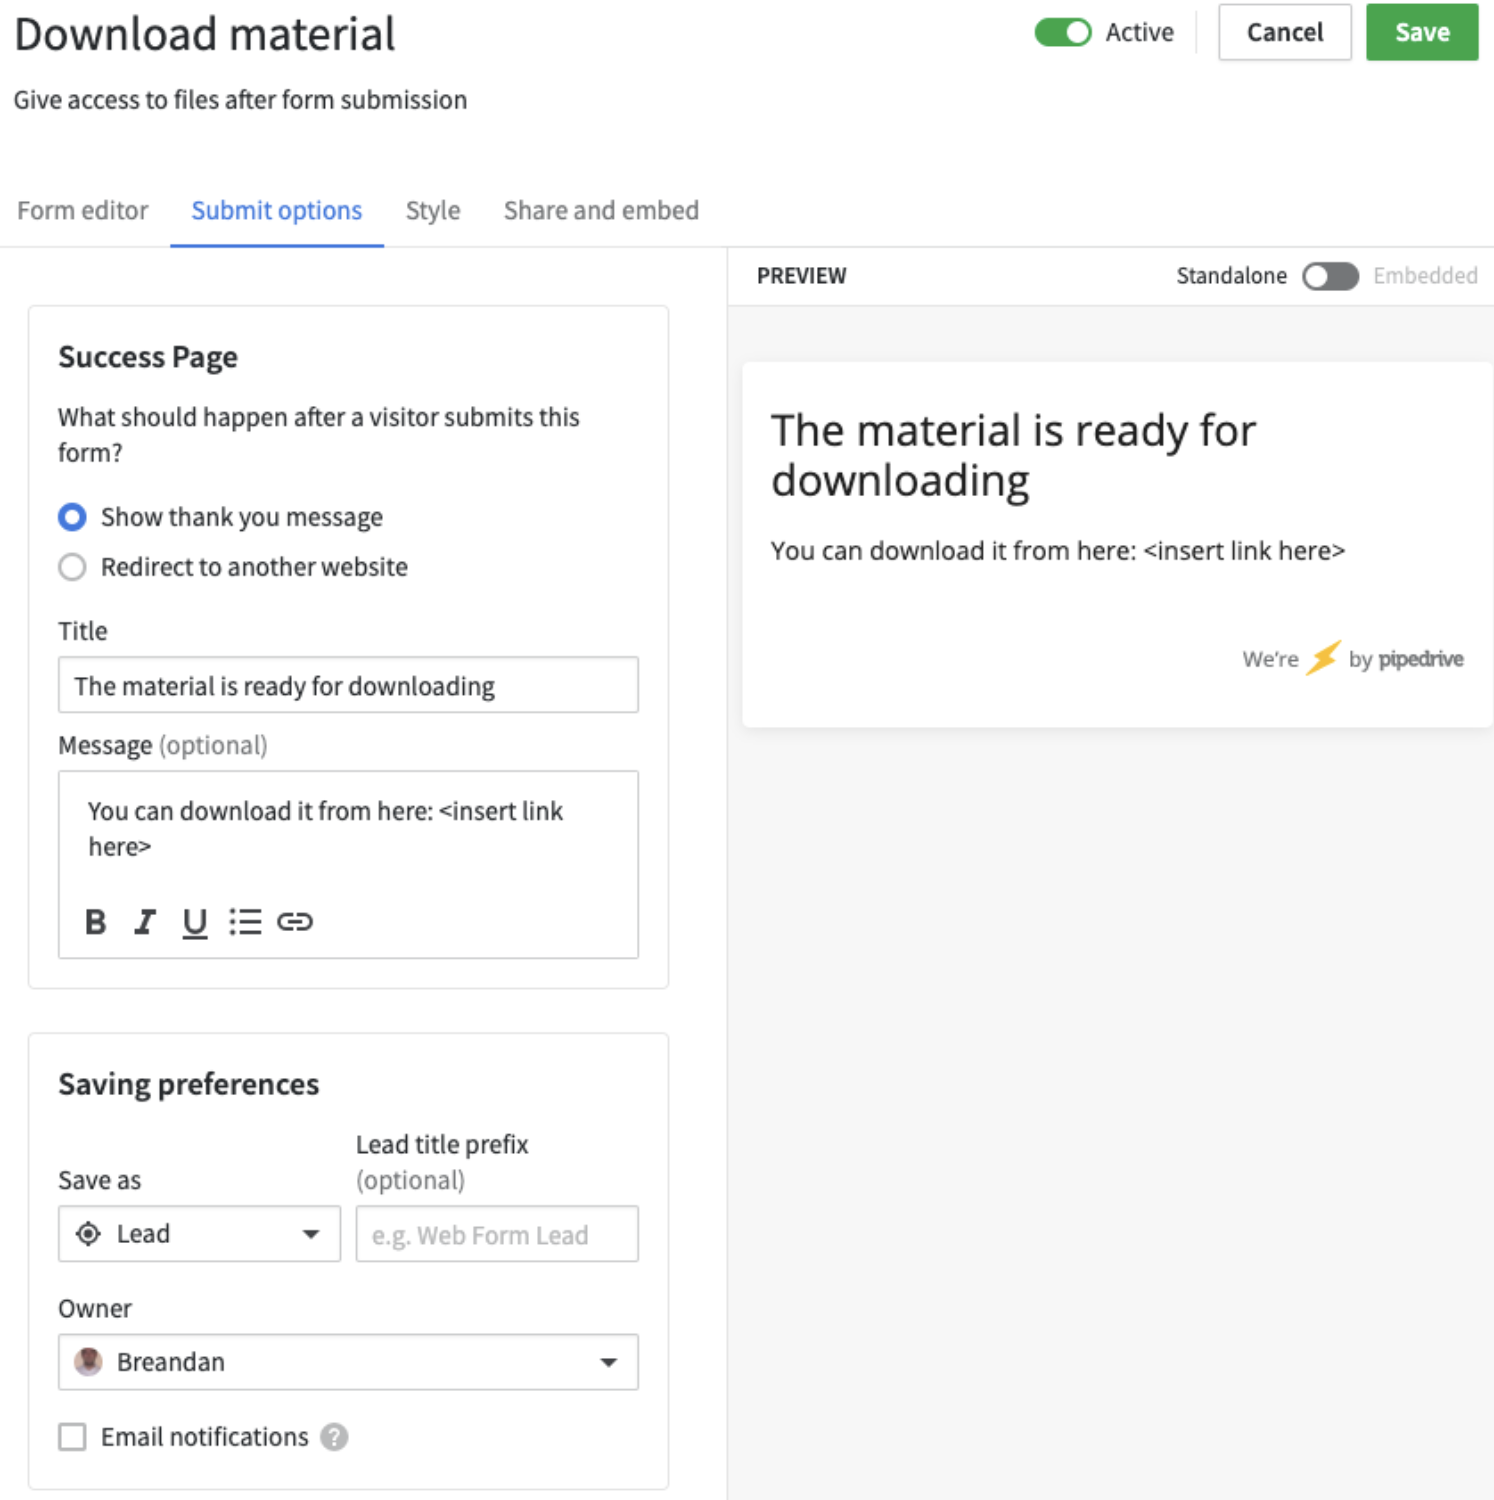
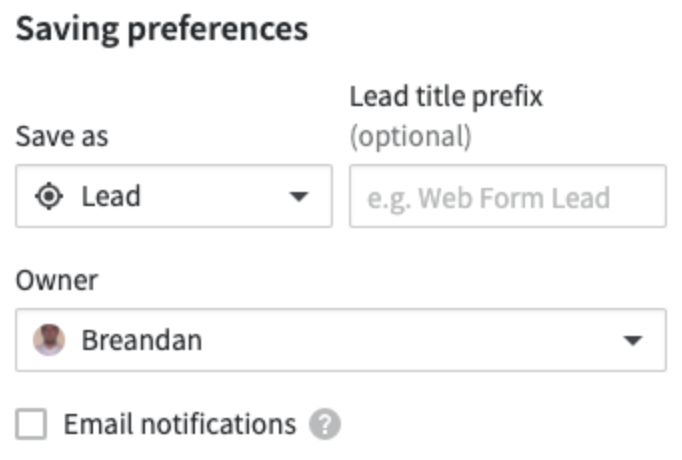
Define where you will store the data sent by your customers
It is time to select your “Preferences to save” where you select whether the completed form is added as a lead or as a deal to your account, plus you can add lead title prefixes .
Need to include an acceptance field? You got it!
In Pipedrive it is possible to create a checkbox where your customers or prospects give their consent to the possibility of contacting them by providing their data.
To generate it you must create a “Single action field” with the options yes/no, since it is added in your account you can add it to your web form and define it as mandatory.

Get to know your website visitors better with Pipedrive
If you want to try Pipedrive 30 days free of chargeenter this promotional code when you create the account: pdp-vilarroig. And to create the account, follow this link. You can also contact us to help you in choosing or accelerating the use of Pipedrive if you are already using it.